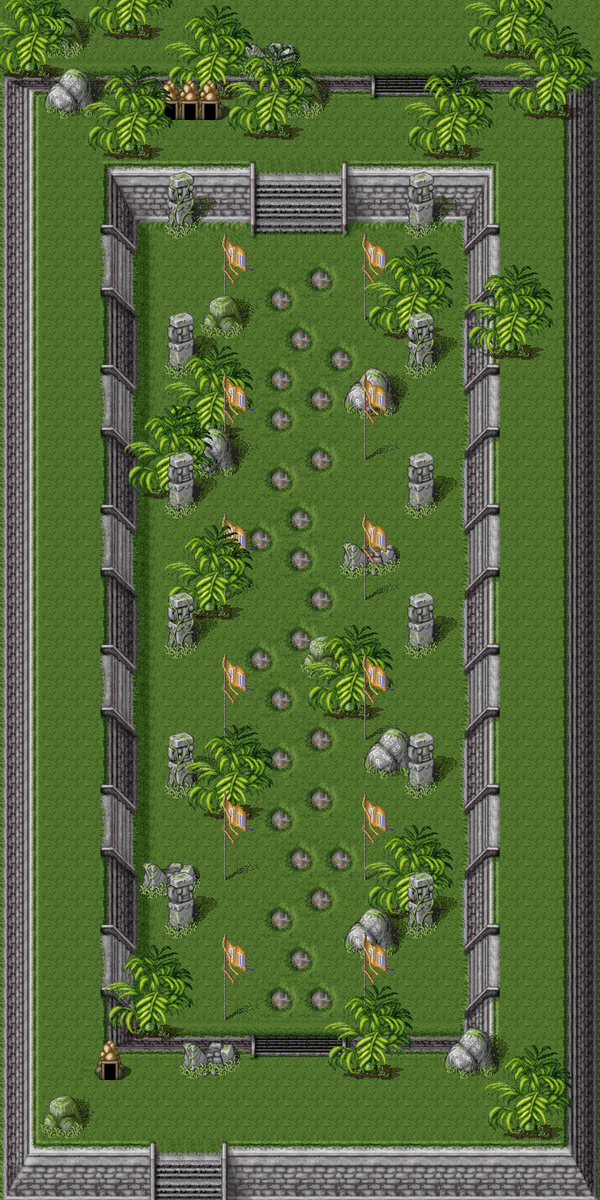
Map preview
?
Reading connections
Each route shows the departure (X, Y) tile and arrival (X, Y) tile. Coordinates start at zero. World map destinations may depend on travel requirements.
Connections are recorded in the direction shown. A return route is listed separately when available. These records may be incomplete or historical; missing routes do not establish that travel is impossible.
Exits from this map
| Destination | Travel | Exit tile → Arrival tile |
|---|---|---|
| Hare Depression 1Map 206 | Map exit |
|
| Mythic Owsla 1Map 207 | Map exit |
|
| Golden Warren 1Map 202 | Map exit |
|
| Hare Summit 1Map 208 | Map exit |
|
Entrances from other maps
| From | Travel | Source tile → Arrival here |
|---|---|---|
| Golden Warren 1Map 202 | Map exit |
|
| Rabbit Hole 1Map 203 | Map exit |
|
| Foraged Fields 1Map 205 | Map exit |
|
| Hare Depression 1Map 206 | Map exit |
|
| Mythic Owsla 1Map 207 | Map exit |
|
| Hare Summit 1Map 208 | Map exit |
|
Comments
Loading comments…