Chocolate Island 2 connects to  Chocolate Island 3. A separate secret route opens
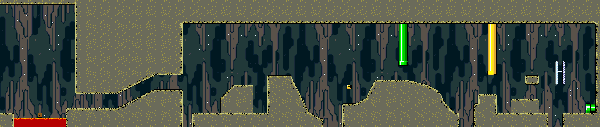 Chocolate Secret.
On this page
Course guide
The next area depends on coins and remaining time. For the ordinary goal, follow the current branch and take the visible gate; return quickly for the key route. This route leads to Chocolate Island 3.
Secret exit
Finish the second area and enter its pipe with the timer displaying 250 or higher. The following area has the key and keyhole beyond the Chargin’ Chucks; collecting few coins in the first area is one possible route, not a requirement.
Map connections
| Route | Location |
|---|---|
| Normal exit | Chocolate Island 3 |
| Secret exit | Chocolate Secret |
| Reached from · normal |  Choco-Ghost House |
Collectible locations · SNES USA
Versions: SNES · North America
| Room | Collectible | Tile X | Tile Y |
|---|---|---|---|
| Room 1 |  Dragon Coin | 33 | 5 |
| Room 1 | Dragon Coin | 49 | 6 |
| Room 4 B (conditional layout) | Dragon Coin | 37 | 22 |
| Room 3 B (conditional layout) | Dragon Coin | 30 | 17 |
| Room 3 C (conditional layout) | Dragon Coin | 36 | 21 |
| Room 2 B (conditional layout) | Dragon Coin | 74 | 14 |
| Room 2 C (conditional layout) | Dragon Coin | 46 | 3 |
Original placements in the exported room group, including alternate layouts. Coordinates count 16-pixel tiles from the top left; use Find collectibles above to locate them on the map. These are not GBA placements.
Comments
Loading comments…