Course and exit checklist for Star World.
On this page
Route
Courses in this region:  Star World 1,
 Star World 2,
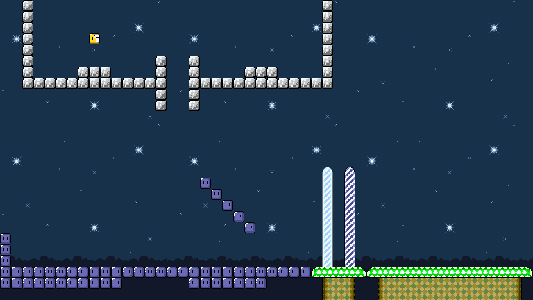 Star World 3,
 Star World 4,
 Star World 5. See the ordinary destination and alternate routes for how these connect.
Alternate routes
Star World 1: Take the mushroom and spin-jump down through the turn blocks, staying right in the second group, to reach the key and keyhole.
Star World 2: At the pipe to the normal goal, swim underneath it and right to the keyhole.
Star World 3: Knock  Lakitu out with a
 grab block, ride the cloud up near the stairs, and hit the left question block for the key. Take it to the keyhole.
Star World 4: With red and green switches active, follow the blocks to the keyhole and hit the nearby question block with a shell or cape to release the key.
Star World 5: With all four Switch Palaces active, use the control coin and P-switch to make a bridge; hit the third of the four blocks at its end to grow a vine. Climb and follow the colored blocks to the key. Cape flight or a flying Yoshi can bypass missing  switch blocks.
Course notes
Star World 1: Spin-jump through the turn blocks to descend. Take the pipe and ordinary gate for its counted exit; the keyhole advances to Star World 2.
Star World 2: Swim through the course with the blue baby Yoshi. Enter the pipe for the ordinary gate or swim underneath it for the key.
Star World 3: Use the grab blocks and watch Lakitu's Spinies. Reach the visible goal for the ordinary exit before returning for the high key.
Star World 4: Cross the course past Koopas and use the switch blocks if activated. The normal gate counts even though it does not advance to the next star.
Star World 5: Cross the lifts and avoid Spinies. The normal goal counts separately; use the upper switch-block route to open Special Zone.
Checklist
Star World 1 — normal and secret
Star World 2 — normal and secret
Star World 3 — normal and secret
Star World 4 — normal and secret
Star World 5 — normal and secret